Reading time: 7 minutes
When was the last time you bought something online without seeing a picture of it? That’s right – probably never. eCommerce without product images is inconceivable. Whether in your own online shop, on Amazon or eBay, or in social commerce visual appeal is crucial to triggering the customer’s desire to buy. Presenting your own product range in good, high-quality product images is essential in today’s world as it demonstrates professionalism and inspires confidence. In this guide, you will learn how to create high-quality product images, what things you need to bear in mind and how you can sell more products and increase your profits with the use of high-quality photos.
The benefits of product photography
Product images can inform – they can also emotionalise. A high-quality product image can reassure the customer that this is exactly the right product for them and minimise the likelihood of returns. It can increase sales by providing an emotional incentive to buy through coherent presentation. But regardless of whether you commission images from a professional product photographer, obtain them directly from the manufacturer or create them yourself – make sure they accurately depict the original product! The more the image deviates from the product, the more likely it is to result in returns, avoidable costs and, in the worst case, bad reviews from customers who are unlikely ever to come back. Special attention should therefore be paid to colour fidelity, accurate reproduction of the materials and important product details. But how many and what sort of pictures are needed to effectively capture the product?
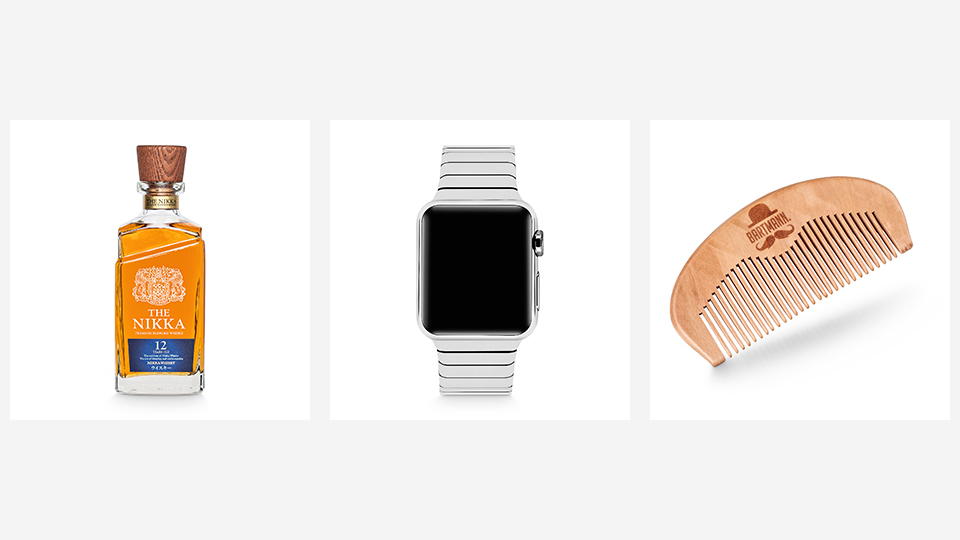
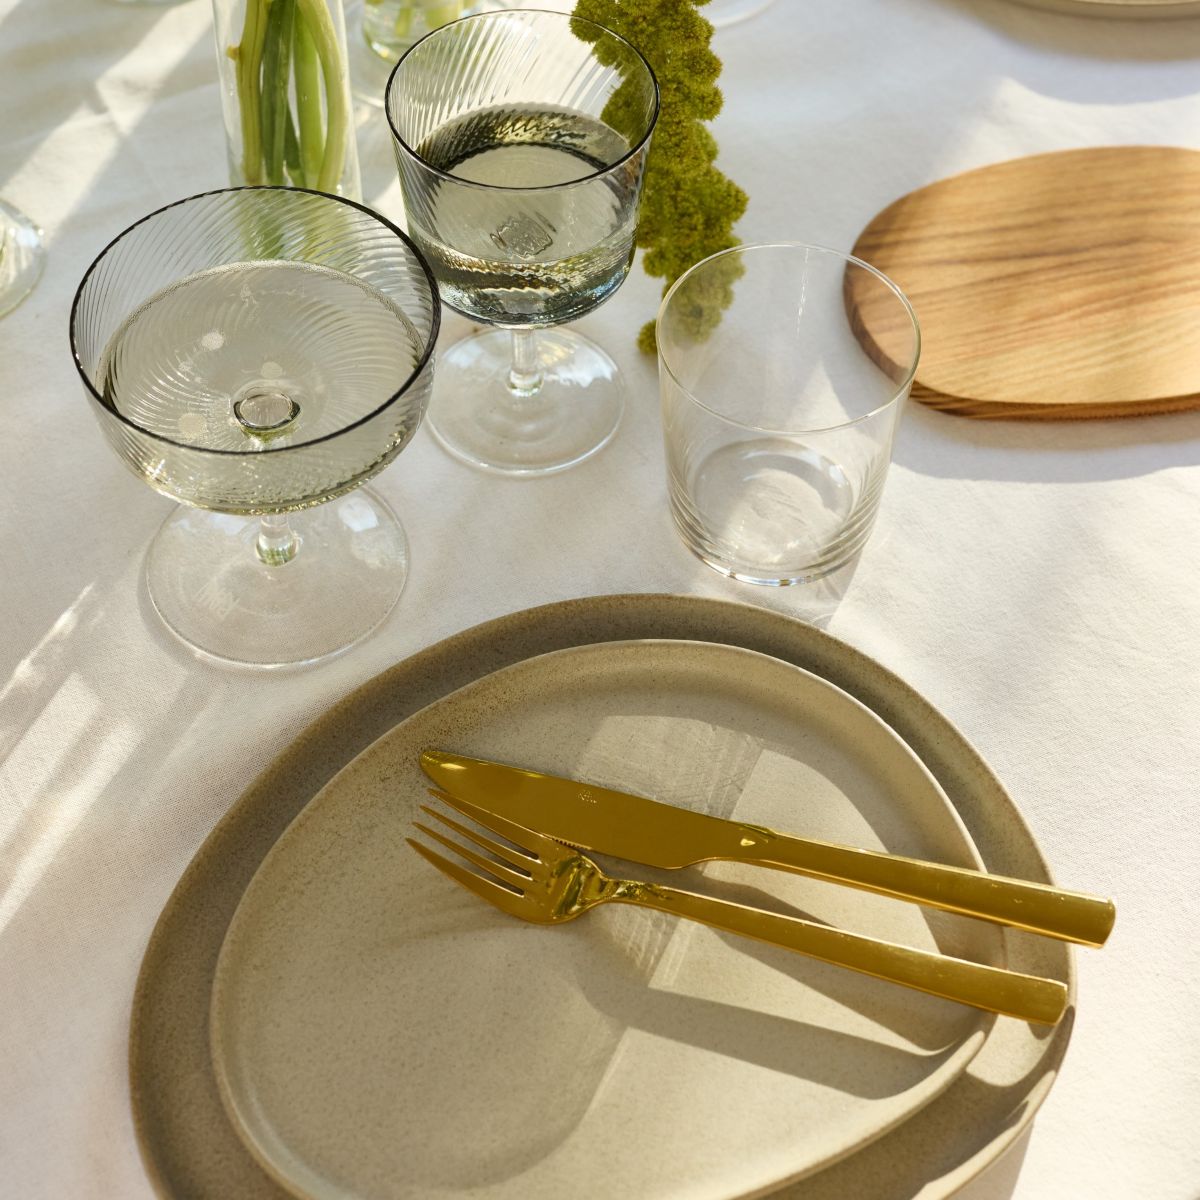
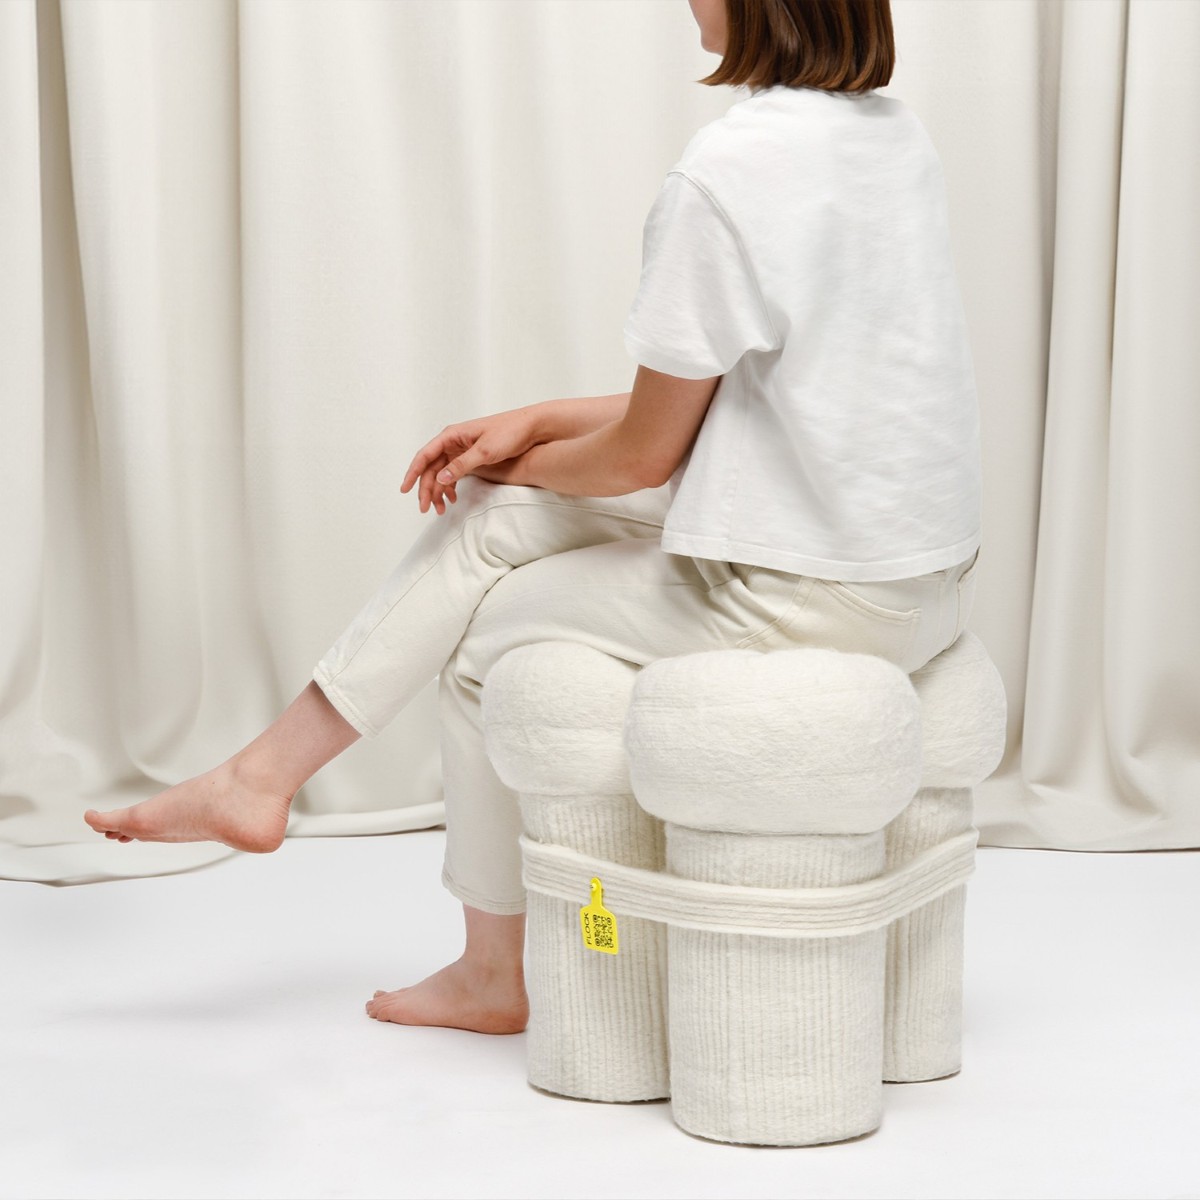
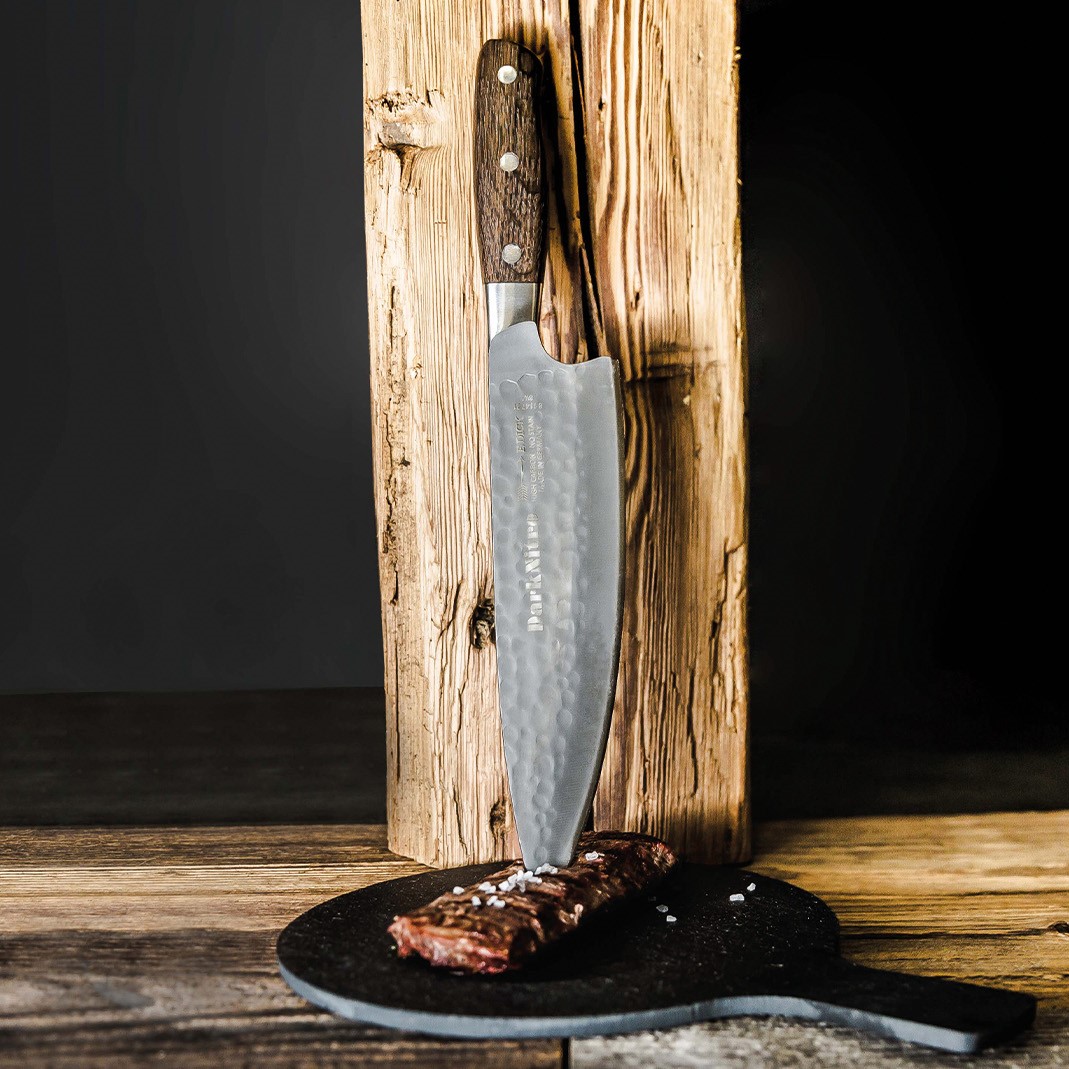
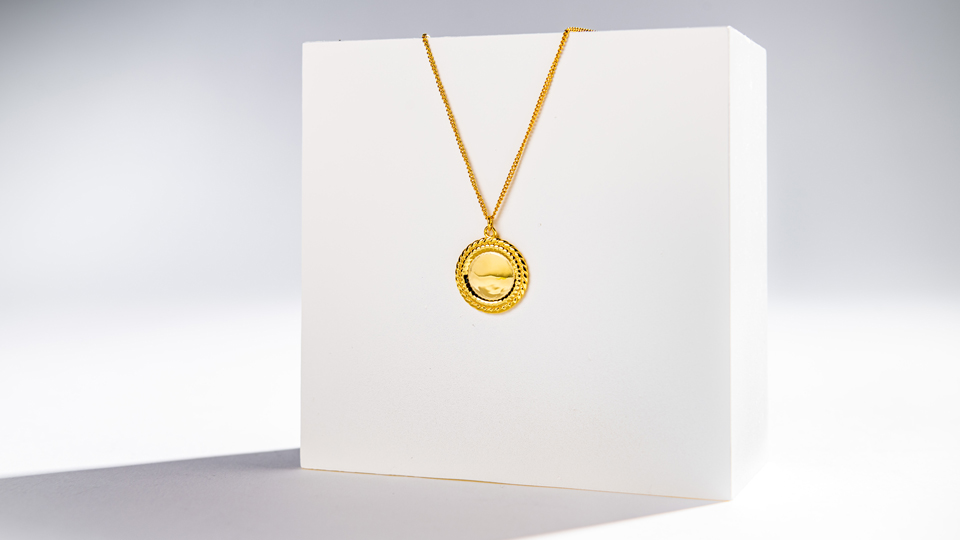
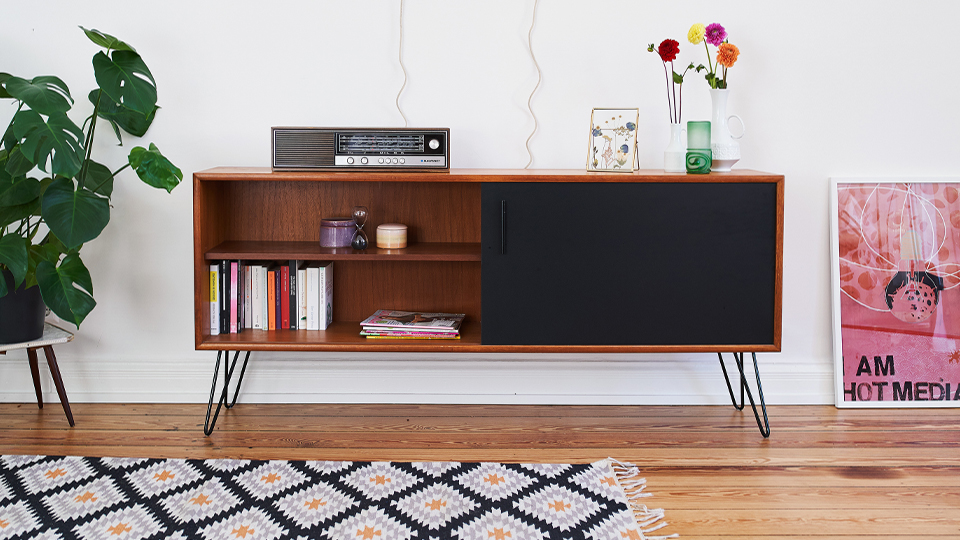
The classic product photograph is the packshot. A packshot is an image of either a product or its packaging cropped in front of a pure white background. A single frontal view or semi-profile is the absolute minimum. If you are selling electronics, a rear view showing all connections can bring about a decision to buy; a shot of the packaging, on the other hand, can increase the anticipation of unpacking. A picture on which the product dimensions are indicated is useful in the case of furnishings. If you are selling several items as a bundle, a collage of cutouts showing the complete scope of delivery makes sense. A mood shot can show an item in use and serve to clarify functions or impress the viewer with a coherently presented context.
Legal matters
It is quite possible that there are already product images for many of the items you want to sell – for instance, on the manufacturer’s website, in image databases or online shops. So, you may ask, why not use them? The answer: Existing images may normally not be used without checking who owns the rights and then requesting such rights, stating the purpose of use. You should also check the current state of copyright and trademark law.
Always make sure, too, that your product photo really depicts the item you are offering. If you post a false image on Amazon, eBay or other similar platforms in order to sell your goods, you are liable. Even a small difference between two otherwise identical models can lead to major problems.
Using manufacturer product images
As long as you adhere to the statutory regulations, i.e. you comply with copyright, usage and trademark law, image material obtained directly from the manufacturer can offer a simple, free source of high-quality product images for your online shop. However, if the manufacturer’s product images differ too much in their staging or design from the rest of the photos in your online shop, or if many other retailers are already using the same images, you should consider having new images created by a professional product photographer.
Commissioning professional product photography
The spectrum of product photographers and photo studios specialising in professional product photography is as wide as the price range for their services. Make sure you know precisely what you require in terms of the images and obtain a quote. Do you sell your products via Amazon? If so, you need to follow the relevant guidelines. Do the existing product images in your online shop have a particular style? If so, look for a service provider who can reproduce this style. Here you’ll find a selection of Germany-based product photographers:
Berlin: imagenium produktfotografie
Frankfurt am Main: Ulrich Schepp Fotografie
Hamburg: LIQUID Photography
Köln: product picture
München: Jasper Block
A professional will usually be able to give you the best results. Depending on the scope of your product range, however, costs can quickly skyrocket, particularly as there are likely to be surcharges depending on the degree of staging or post-processing. If these costs exceed your budget, however, there is another option.
Creating your own product images
With a little technical skill and a good eye, you can produce usable product photos yourself. However, you do need to bear a few things in mind:
Camera: Smartphone or single-lens reflex?
Modern smartphones (with an appropriate app for manual camera settings) can produce excellent images. However, digital single-lens reflex cameras (DSLRs) or mirrorless system cameras on a tripod deliver the best results. A lens with a focal length of 50mm on a camera with a full-frame sensor gives the least perspective distortion as it is closest to the human eye and therefore a good choice for product images. A macro lens, on the other hand, is good for capturing fine details or showing surface textures. Many DSLRs bought in kit form come with an 18–55mm lens with macro mode. With this sort of setup, you can certainly achieve a great deal.
Lighting: Soft and even
Product images that are primarily intended to inform should be staged in a clear, unambiguous manner. Make sure that the lighting is even. Harsh, direct light creates distracting hard shadows. A thin piece of white cloth or paper between the light source and the object can serve as a diffuser, i.e. it diffuses the light and thus softens the shadow. Use a second light source to illuminate the shadow side. There is warmer light and colder light – if you use several lamps, make sure you use the same type of bulb so that the colour temperatures do not mix.
Background: Choose white to be on the safe side
Using a uniform background for your product images ensures that your shop’s website has a consistent look and feel. This also makes it easier to create cutouts so that you can place the products on other backgrounds. A white background is best for displaying your product plainly and authentically. When editing the image, it also makes it easier to create a product photo with a pure white background, which you will need if you want to sell your product via Amazon.
Tip: Small and medium-sized objects can be photographed well in a light box. Entry-level models are available for under 100 euros and can be a worthwhile investment.
Retouching: Should be as close to the original as possible!
If possible, the photos should be taken in RAW format. This gives you important editing options in terms of exposure, colour fidelity and white balance correction. Always keep in mind that if the colours in a product image differ from the original, this may well lead to increased product returns. The paid-for software programs Adobe Photoshop and Lightroom are the classics in the field of RAW processing, but there is also freeware, such as RAW Therapee that can be used for this purpose. In addition, many cameras come with their own software and deliver usable results.
Staging: Mood shots convey emotion
If you are quite confident with using the camera and want to stand out from the crowd by creating an emotionalising mood shot, you can try your hand at staging a product. There are various online courses in which professionals share valuable expertise and offer inspiration. For example, in his German-speaking online course, advertising photographer Eberhard Schuy explains how to create the illusion of objects floating in the air – from planning through to final editing.

Posting product images
Whether you commission the product photos or create them yourself, there are a number of things you need to consider when it comes to posting product images in your online shop or on your website:
Size and formatting
Depending on the particular shop system, there may be different requirements in terms of image size, file size and file format that you need to take into account. In principle, however, you should post your product images in two sizes – a smaller version as a preview in the shop grid and a larger one for the zoom function: For the zoom function, the image should be at least 1000 x 1000 pixels. For the small preview (thumbnail), an image size of 200 x 200 pixels may be sufficient.
Bear in mind that large image files affect the loading speed of your website. Since more and more people are shopping on the go with their smartphones, it is increasingly important to keep your online shop or website fast and easy to navigate. The recommended file format is therefore a slightly compressed JPG, which provides good image quality while keeping the file size small. To achieve a reasonable balance between image size, image quality and file size, it is best to use a professional image editing tool. PNG format is suitable for cutouts for editorial distribution and allows the display of transparencies and enables your partners to create collages.
SEO (Search Engine Optimisation) of product images
To ensure the visibility of your product images, you should follow at least the basic rules of search engine optimisation (e.g. for Google), thereby achieving a better ranking in the search results. The file name and alternative text are particularly important here:
An obscure file name such as IMG_2556.HEIC or Table_03-final.ARW conveys nothing useful. Choose 4 to 7 relevant keywords and separate them with a minus sign (-), for example: manufacturername-diningtable-oak-solid-brown-contemporary-superior.jpg. If you have a multilingual online shop, you should post a separate image for each language with its own translated file name.
The alternative text for an image is displayed if, for example, the appearance of the image in the browser is delayed due to a slow internet connection. People with visual impairments can also have the alternative texts read aloud by their software while surfing. Choose a concise, descriptive text such as: “A contemporary, superior dining table by manufacturer XY made of brown, solid oak.” This helps the search engine and improves your ranking, which means more customers will find your shop and your sales will increase.
Summary
There is no alternative to using product photography in eCommerce, so it is vital to follow the basic rules. Consider the platforms on which the images are going to be used and make sure you observe the relevant requirements. Check whether you can use manufacturer photos. If not, obtain quotes from suitable product photographers. Take your own product pictures if your budget demands it and your skills warrant it. Always stay within the bounds of relevant trademark and copyright law and optimise the images for search engines. If you follow these tips, you will be well set up!
Picture credits (top to bottom):
Ulrich Schepp Fotografie, imagenium produktfotografie, LIQUID Photography, Jasper Block, product picture, SCHUYfotografie, LIQUID Photography
